Kumano Kodo Pilgrimage: How to Plan Your Hike on Japan’s Spiritual Trail
So you want to set out on a hike in Japan, and you’ve heard about the sacred Kumano Kodo. Well, let me say, you’re in for a spiritual, adventurous treat!
The only caveat is that, like most things in Japan, planning the details, booking the guesthouses in advance, and figuring out logistics can be a bit tricky—especially for first-timers.
Having just completed the Kumano Kodo pilgrimage myself (the Nakahechi route over 5 days), and being somewhat obsessive over trip-planning (😅), I wanted to share the insights I gained from planning a self-guided Kumano Kodo itinerary.
Of course, this was only made possible by spending hours scouring the generous, free information on the Tanabe City Kumano Tourism Bureau and the community-reservation site Kumano Travel. Both are incredible resources for planning your Kumano Kodo hike. I will reference them many times throughout my guides, hoping to distill the most essential information.
In this post, I’ll give you an overview of the Kumano Kodo based on my experience.
In deep-dive guides, I’ll provide more information on trip length, accommodation, the Nakahechi route, and more. And please drop your questions in the comments at the end of this post if you need additional advice!
What Is the Kumano Kodo Pilgrimage?
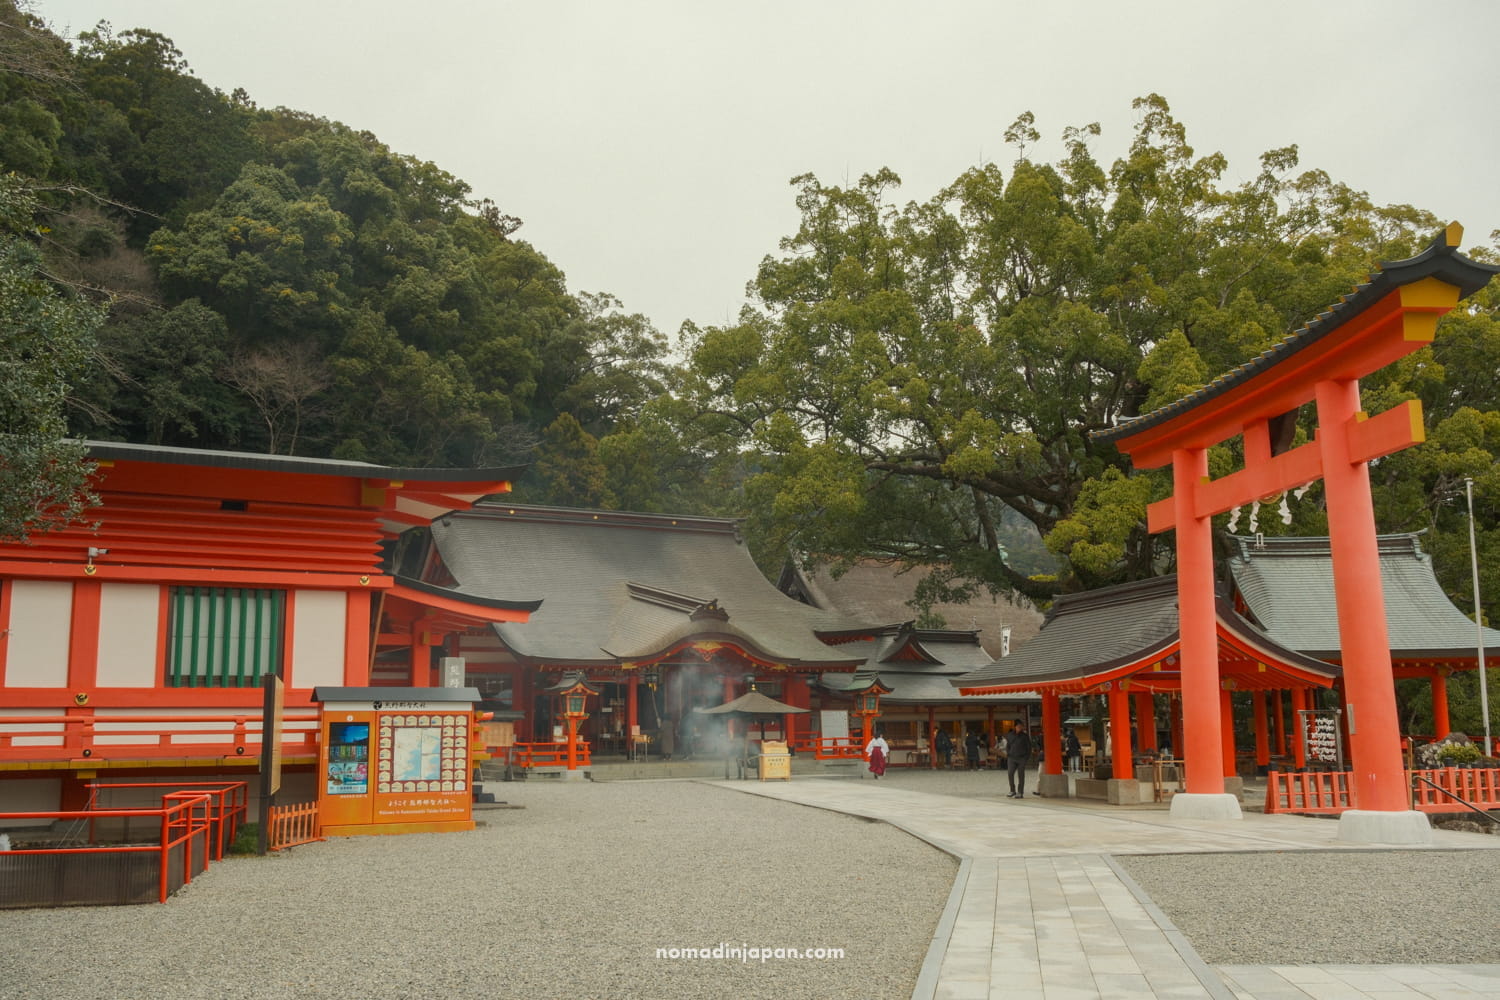
The Kumano Kodo is an ancient network connecting several pilgrimage routes, once trodden by emperors and the faithful who made the arduous journey on foot to reach the Kumano Sanzan, also known as the three Grand Shrines of Kumano: Hongu Taisha, Nachi Taisha, and Hayatama Taisha.
Today, you can experience the Kumano Kodo pilgrimage through one of these four tourist-friendly trekking routes, each with varying terrain, trails, viewpoints, and difficulty levels:
- Nakahechi, the Imperial Route (“the classic” hike for most travelers)
- Ohechi, the Coastal Route
- Iseji, the Eastern Route
- Kohechi, the Mountainous Route (beginning in Koyasan)
Along the Kumano Kodo, pilgrims would pray at many Oji statues and shrines for protection and guidance and undergo purification rituals (including cold-water river immersions and soaking in hot springs) on their way to the three Kumano Grand Shrines.

In 2004, the Kumano Kodo was registered as a UNESCO World Heritage site route, as part of the “Sacred Sites and Pilgrimage Routes in the Kii Mountain Range”, alongside the Camino de Santiago, which crosses France and Spain.
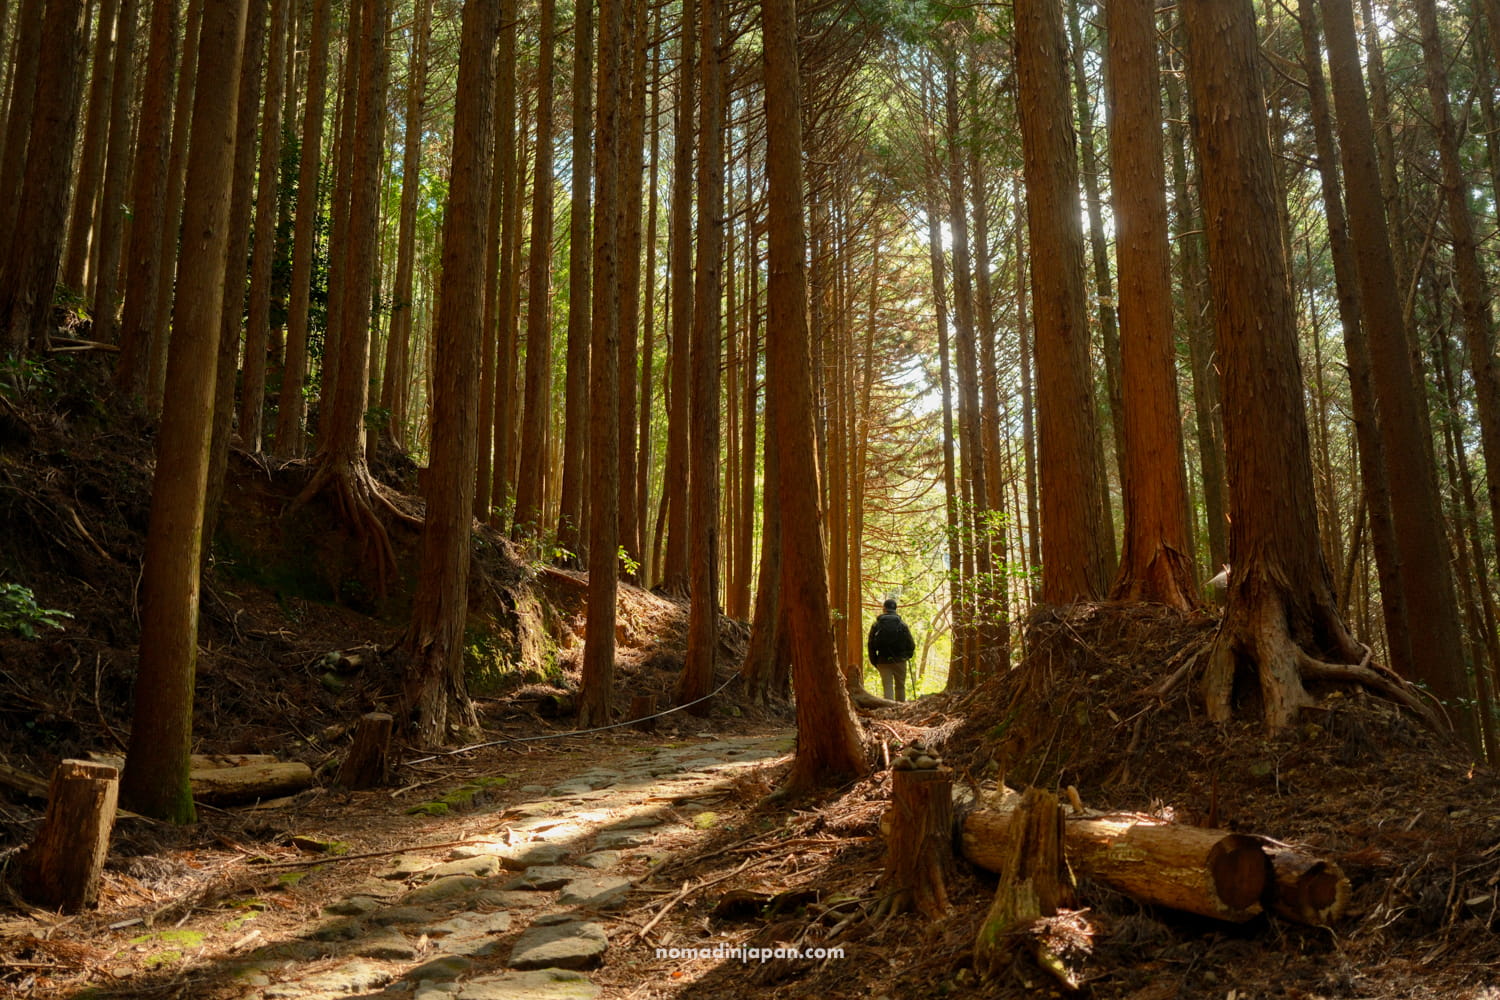
Set in the dense forests of the Kii Mountains on a peninsula in the southernmost part of mainland Japan, overlooking the Pacific Ocean, three sacred sites – Yoshino and Omine, Kumano Sanzan, and Koyasan – are linked by pilgrimage routes to the ancient capital cities of Nara and Kyoto. Together these sites, the connecting pilgrimage routes, and surrounding forests form a cultural landscape that reflect the fusion of Shintoism, rooted in the ancient tradition of nature worship in Japan, and Buddhism, which was introduced from China and the Korean Peninsula. The sacred sites are connected by 307 km of pilgrimage routes which cover a total area of 506.4 ha. With the surrounding forest landscape, they reflect a persistent and extraordinarily well-documented tradition of sacred mountains maintained over 1,200 years.
UNESCO World Heritage Convention
🥾 Complete both the Kumano Kodo and the Camino, and you can become a registered Dual Pilgrim!
Where Is the Kumano Kodo in Japan?
The Kumano Kodo network stretches across the mountainous Kii Peninsula, located just south of Osaka and Nara Prefectures, still in Japan’s Kansai region on the main island of Honshu.
Wakayama City is the gateway to Wakayama Prefecture, but the trailhead for the Nakahechi route is farther down in Takjiiri-oji, which you can access via bus from Kii-Tanabe.
You can start hiking the Kumano from various trails — there’s no “one way” to do it, although the Nakahechi route is the most popular, crossing the peninsula from west to east.
How Long Does It Take to Walk the Kumano Kodo?
If you opt for the Nakahechi route, you can choose a self-guided hike of 3 to 5 days, based on your level of trekking experience.
If you follow our Nakahechi route hike, you can split it up like this:
- *Day 1: Takijiri-oji to Takahara (~4.5km)
- *Day 2: Takahara to Chikatsuyu (~9km)
- Day 3: Chikatsuyu to Kumano Hongu Taisha ⛩️ (~17km)
- Morning: Bus Chikatsuyu > Doyukawa-bashi (+ trailhead)
- Evening: Bus Hongu > Yunomine (or hike ~2 hours)
- Day 4: Yunomine to Koguchi (~13km)
- Morning: Bus Yunomine > Ukegawa trailhead
- Day 5: Koguchi to Kumano Nachi Taisha ⛩️ (~14.5km)
- Bus Nachi Taisha to Kii-Katsuura or Shingu (Shingu is the location of the 3rd shrine, Hayatama Taisha)
*Days 1 and 2 above can be combined for a fuller first day (~13km).
While doable for most active travelers, the challenge of the Nakahechi route shouldn’t be underestimated, especially the two days after Kumano Hongu Taisha, when reaching Kumano Nachi Taisha and Nachi Falls.
Best Time to Walk the Kumano Kodo

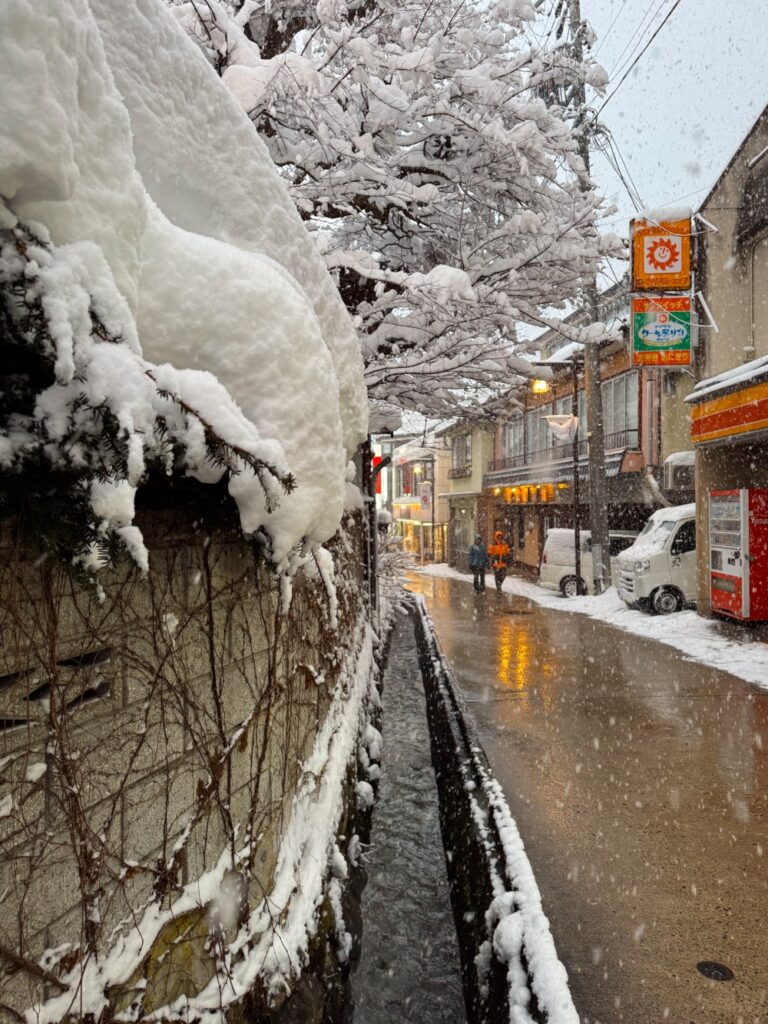
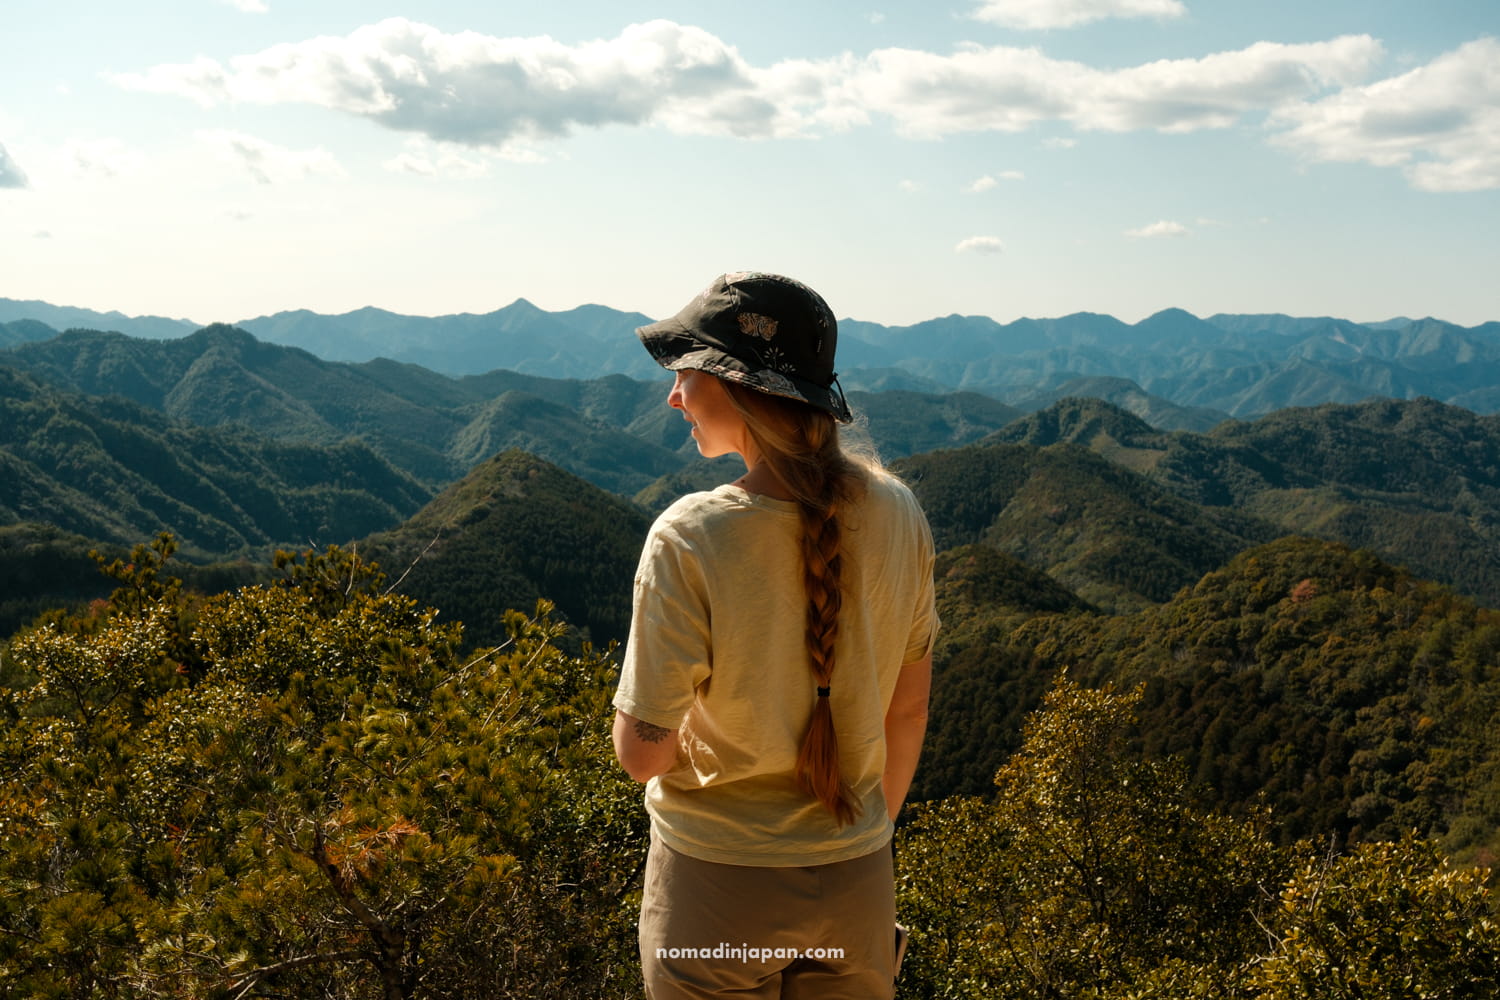
I’m grateful we went in early March, during springtime, because we had mild, sunny weather (albeit some freezing nights!), a contrast to Kumano’s hot, wet summers.
I can imagine how, under rainy, windy, muddy weather, our experience could have been completely different. We got sooo lucky that it was sunny most days (except one!).
We were a tad early for cherry blossoms, but we did get lucky and see a few early bloomers. 🌸
If you can’t make it during the spring, try to go during the fall for the same reasons — milder weather, fewer chances of rain, and good trail conditions.
Where to Start the Kumano Kodo — Nakahechi Route (Access & Transport)
The Kumano Kodo Nakahechi Trailhead starts at Takijiri-oji.
To reach the trailhead from Kii-Tanabe Station, take the 81 Kumano Hongu Line (bus) from the station, right in front of the Tanabe City Tourist Information Center. It’s about a 40-minute ride.
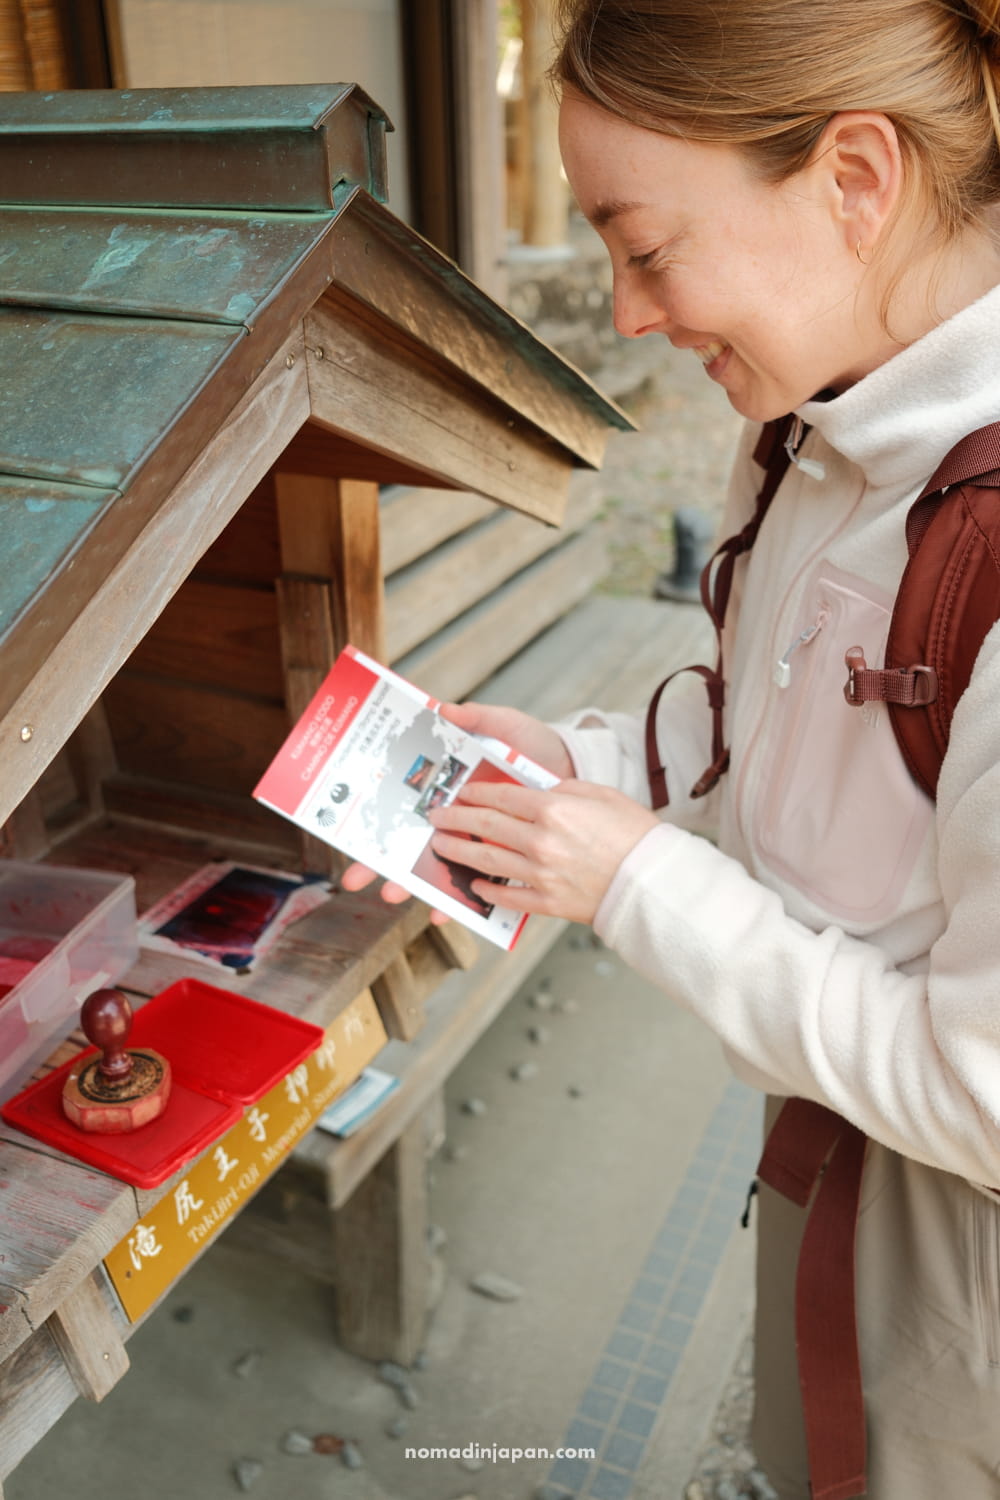
Before you go, grab a Dual Pilgrim stamp booklet in Tanabe. If you are in a hurry and didn’t have time before the bus, you can still get one at the Kumano Kodo Pilgrimage Heritage Center at Takijiri-oji — it’s across from the trailhead.
Step 1. Getting to Tanabe (Main Gateway)
From Osaka or Kyoto, you’ll make your way south into Wakayama Prefecture.
The main access point is Kii-Tanabe Station, a small but well-connected town that acts as the gateway to the pilgrimage.
The easiest and most scenic way to get here is by train:
- From Osaka: Take the JR Limited Express Kuroshio from Shin-Osaka or Tennoji Station directly to Kii-Tanabe (about 2–2.5 hours)
- From Kyoto: Take a train to Shin-Osaka or Tennoji, then transfer to the Kuroshio (around 3–4 hours total)
Seats can fill up during peak seasons, so it’s worth reserving in advance if you’re traveling in spring or fall!
Once you arrive in Tanabe, you’ll find a 7/11, luggage services, and the Kumano Tourism Center, which is a good place to double-check trail conditions or bus schedules before heading into the mountains.
Step 2. Getting to Takijiri-oji (Trailhead)
Takijiri-oji is considered the traditional starting point of the Nakahechi route, where the pilgrimage officially begins, and the forest trail takes over.
From Kii-Tanabe Station, it’s a straightforward bus ride:
- Take the Ryujin Bus bound for Hongu or Kumano Hongu Taisha
- Get off at Takijiri bus stop
- Time: ~40 minutes
If you plan to go all the way to Chikatsuyu or Nonaka on your first day, leave early in the morning to allow enough time to hike during daylight (7–8 hours)!
Since we arrived from Wakayama City that morning, we began our first hike to Takahara around 13:00 pm.
A few tips from experience:
- Arrive at least 15–20 minutes early to wait in line
- Have cash/yen ready (exact change) or use a tappable credit card
- Grab your Dual Pilgrim stamp book (free) in Tanabe or Takijiri-oji

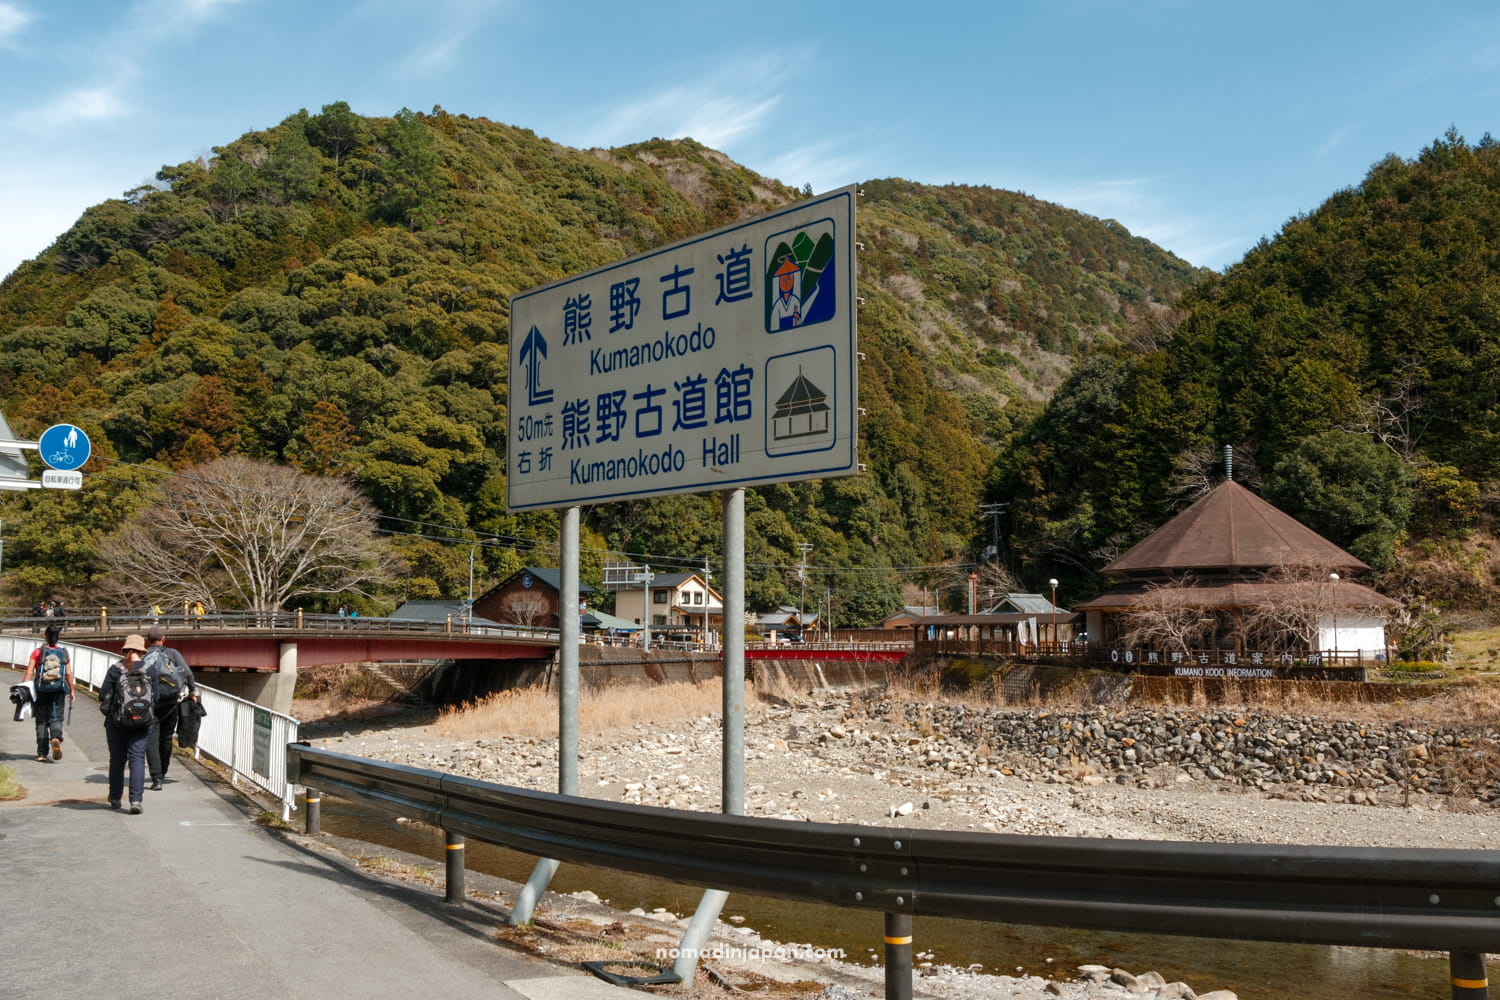
Once you step off at Takijiri-oji, cross the bridge and visit the Kumano Kodo Kan Pilgrimage Heritage Center & Museum (8:30 – 17:15). Read about the history of the Kumano, grab snacks, maps, and use the restroom before setting off.
This is also where we bought our black bamboo walking sticks for just 500 JPY! (We were envied on the trail. 😏)
Visiting the Grand Shrines Along the Nakahechi (Recommended Route)
Many people only hike the section from Takijiri-oji to Kumano Hongu Taisha, as this section “officially counts” as toward their dual pilgrimage status. The first shrine you come to along the Nakahechi (Kumano Hongu Taisha) is the official stamp you need for your booklet. You can collect more along the way there, and after.
Some people continue their journey from Hongu by bus to visit the other two grand shrines: Nachi and Hayatama.
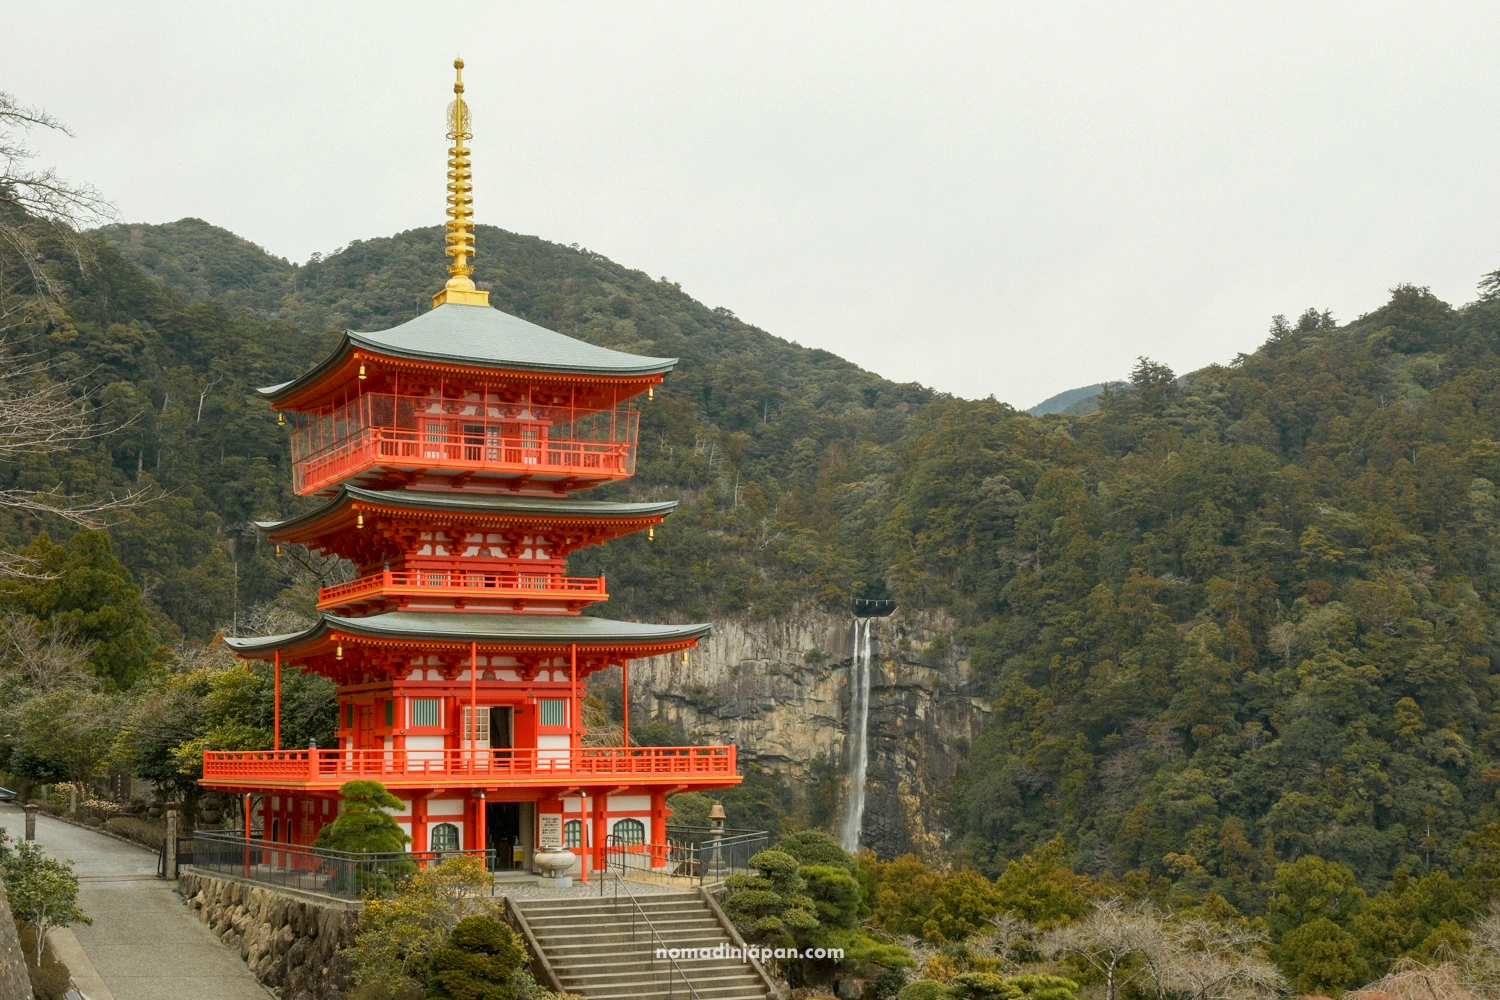
However, to hike the full Nakahechi route, you’ll want to continue on foot from Hongu Taisha down to Nachisan — aka Kumano Nachi Taisha Shrine, Nachi Falls, and the Seiganto-ji Pagoda (that classic photograph!), which requires two extra days of hiking over challenging mountain passes (Ogumotori-goe and Kogumotori-goe). If you do this, plan to stay overnight in Koguchi (splitting the two days into 13km and 14km, respectively).
Finally, the third shrine (Kumano Hayatama Taisha) can only be reached by bus/car. The trail from Hongu down to Hayatama is typically not hiked. After your visit to Nachi Taisha (thus completing the Nakahechi), you can take a bus to Shingu, where you can collect your last shrine stamp. Alternatively, you can take a riverboat tour (requires advanced reservations) connecting the Hongu area to Shingu.
‼️ Please be prepared: The 2-day trek between Hongu Taisha and Nachi Taisha is the hardest portion of the entire Nakahechi route, with back-to-back climbs over rocky terrain and an elevation gain of 4,000 ft on the last day (it’s no joke!).
You can read more in my recommended Kumano itinerary for pre- and post-trip planning and activities.
Planning Accommodation Along the Kumano Kodo

The trickiest part of planning the trek was figuring out reasonable hiking distances and times between the sparsely populated villages, and then finding affordable accommodation that was available.
Lodging along the Kumano Kodo books up very quickly, months in advance. You can try your luck at the last minute, as there are many cancellations; however, you’ll definitely want to book early to snag the best deals.
I go into more detail about this in my guide to accommodation in Kumano; however, here is a brief overview of where we stayed on which nights. Listed are the towns and the hotel we booked.
- Night 1: Takahara, Kiri-no-Sato Lodge (5 stars!)
- Night 2: Chikatsuyu, Kumanoyasai Base; 1-bedroom studio
- Night 3: Yunomine Onsen village, J-Hoppers Hostel (would stay again!!)
- Night 4: Koguchi, Sen. Haven Nakamura; 3-bedroom Japanese house (very limited housing options in this town)
- Night 5: Nachi-Katsuura town, overnight in Hotel Urashima with cave onsen
On that note, plan to eat at your accommodation each night and morning, as food is limited in the villages (with a few exceptions).
Traveler’s Note:
🍱 Most accommodations include breakfast and dinner, but offer a paid option to prepare you a lunchbox (bento) for the next day’s hike.
Collecting Stamps on the Kumano Kodo (What I Wish I Knew)

In retrospect, I don’t think I’d change much about our Kumano experience! However, I learned later on that, regarding the Dual Pilgrim stamps, you won’t get a certificate just for doing the Kumano Kodo.
If you haven’t completed the Camino de Santiago yet, the only thing you need to do to officialize your Kumano hike is to stamp your booklet (last page) at the Kumano Hongu Taisha shrine. The stamp house is on the right side of the reception office.
Now, I kept seeing people with another cute booklet that looked different than the Dual Pilgrim pamphlet.
And I discovered that if you wish to have a certificate of completion, there’s another booklet to grab at Takijiri-oji: the Wakayama Prefecture stamp book (cost 100 yen, only in Japanese), and you can get a certificate of completion by collecting 41 stamps along the Kumano Kodo (this is more than you need for the Dual Pilgrim stampbook).
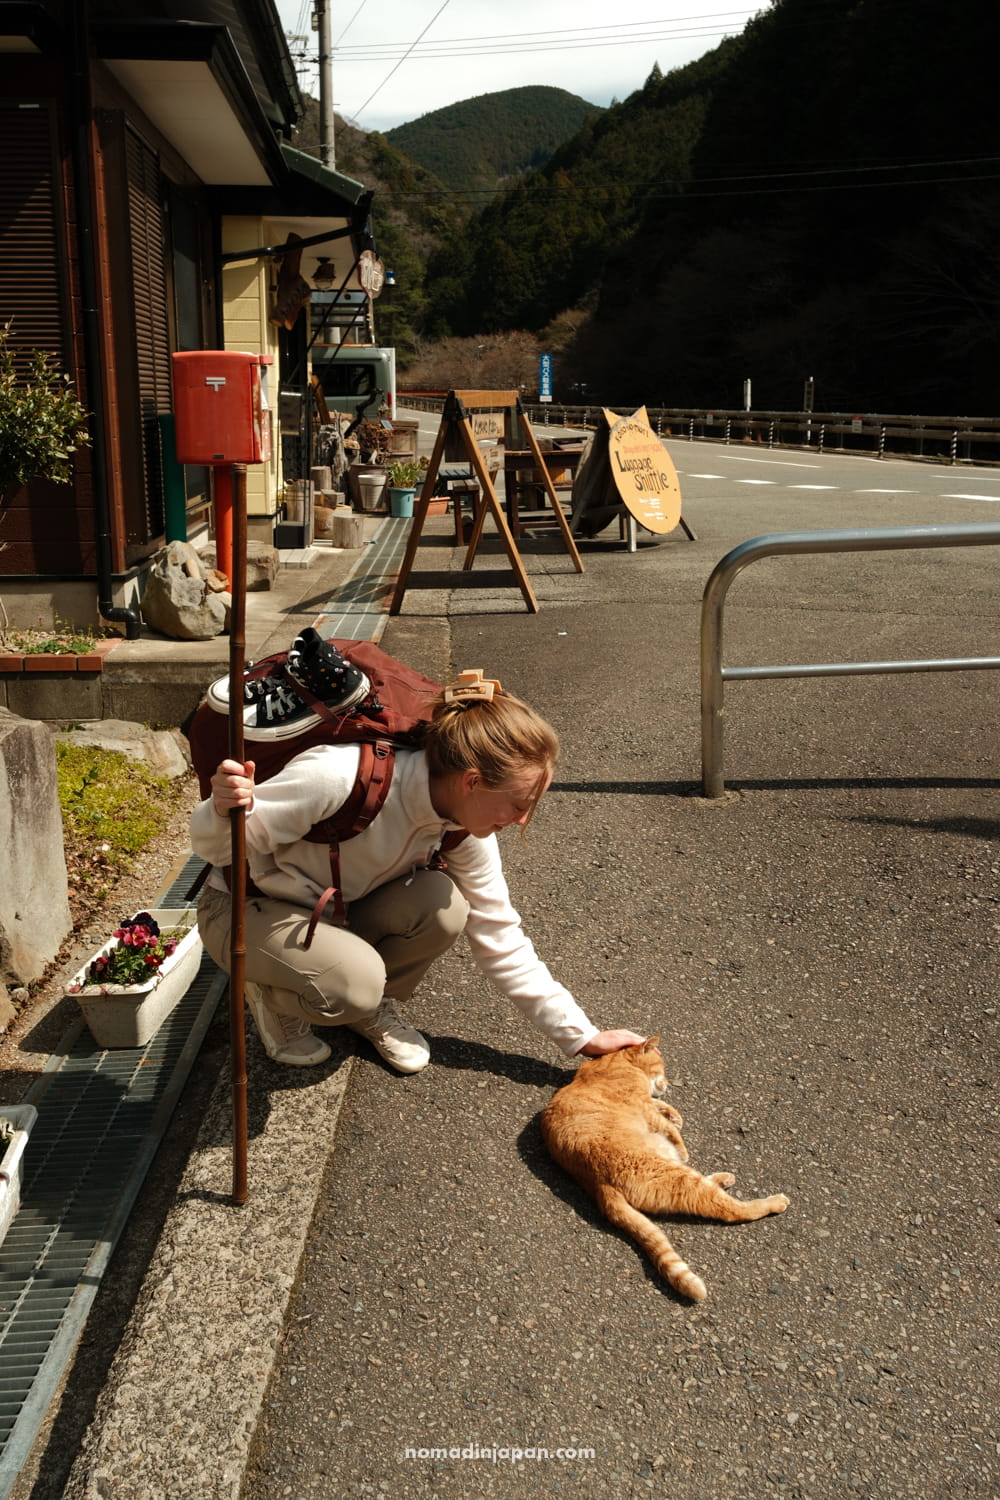
Luggage Forwarding on the Kumano Kodo

What can you do with your backpacks and suitcases while hiking the Kumano? 🎒
Well, the cool thing about hiking the Kumano is that you can have your big luggage forwarded each night, so you’re free to hike only with a light day pack.
If you do this, I highly recommend planning or organizing with Kumano Travel and communicating this to your hotels several weeks before your departure. Here is a list of luggage shuttle and storage providers.
Other than that, it’s simple: Just load your luggage out front each morning and they’ll van it to your next destination.
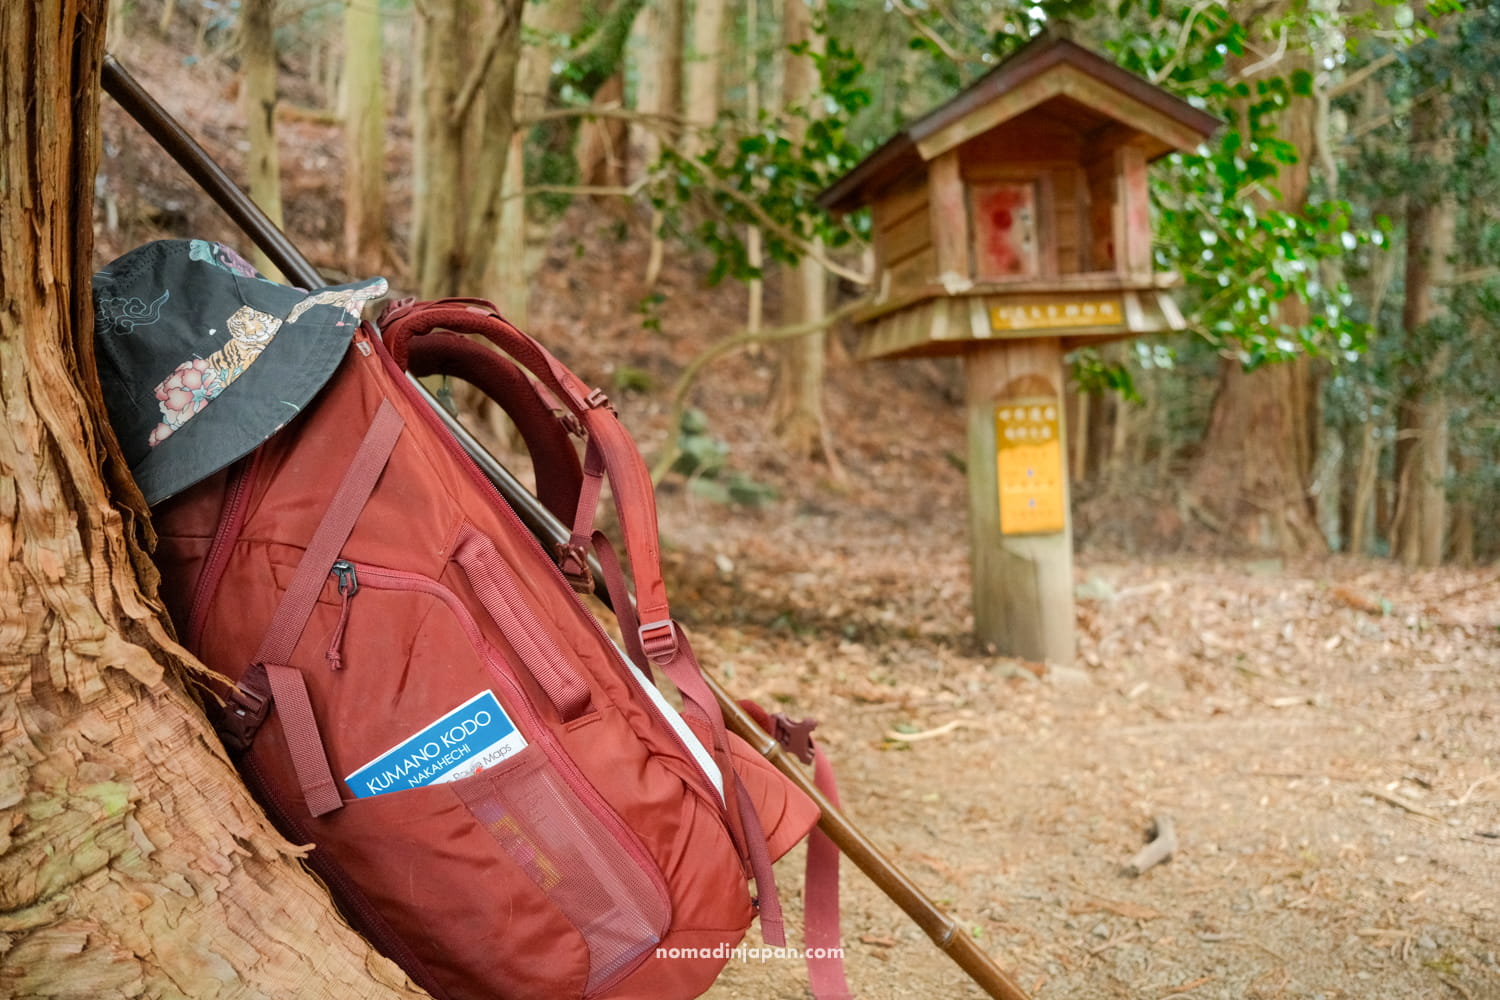
🎒 We personally chose to hike with our 40L backpacks — as we would do on a trek in Nepal — and it wasn’t too bad! However, it’s definitely the heavier option, but simpler, too.
What to Pack for the Kumano Kodo

My rule for trekking is to always pack simply and functionally, with layers, and keep mostly essentials!
Here’s what I ended up packing for our 5-day Kumano Kodo trek in early March (please note, I chose to carry my own backpack, weighing about 10kg):
- Thermal long-sleeve (base layer) from Uniqlo
- Fleece zip-up jacket (mid layer) from Mont-Bell
- Rain/wind jacket (outer layer) from Patagonia
- Light hiking/trekking pants from Tigora
- Trail shoes from Vivo Barefoot
- Yoga pants + bralette
- Warm beanie + gloves, sun hat
- Undies + 4 pairs of socks
- Post-hike loungewear (sweatpants + sweater)
- Pajamas
- 1 travel outfit (sweater + pants)
- Extra pair of shoes (Converse)
- Minimal toiletries, sunscreen, chapstick
- Water bottle, electrolytes, snacks
- Cameras + chargers
- Journal + Kindle
- Cash (and coins for shrines)
Bought on the trail: Omamori (amulets from shrines), bamboo walking stick!
I used up pretty much everything I packed. And we got lucky with sunny weather; it would have been a different scenario if it had rained and we had gotten soaked! So, please plan accordingly.
Also, the weather in the Kii Peninsula can change suddenly. We froze some nights, but would shed layers during the day. Prepare for rain, sun, wind, and cool temperatures
Kumano Kodo Etiquette & Cultural Tips
Please be a respectful tourist and pilgrim along the Kumano Kodo.
Leave no trace on trails, pack out all your trash, and respect the spiritual customs. If you’re unfamiliar with etiquette at Shinto shrines, in general, you can:
- Bow before/after entering a torii gate
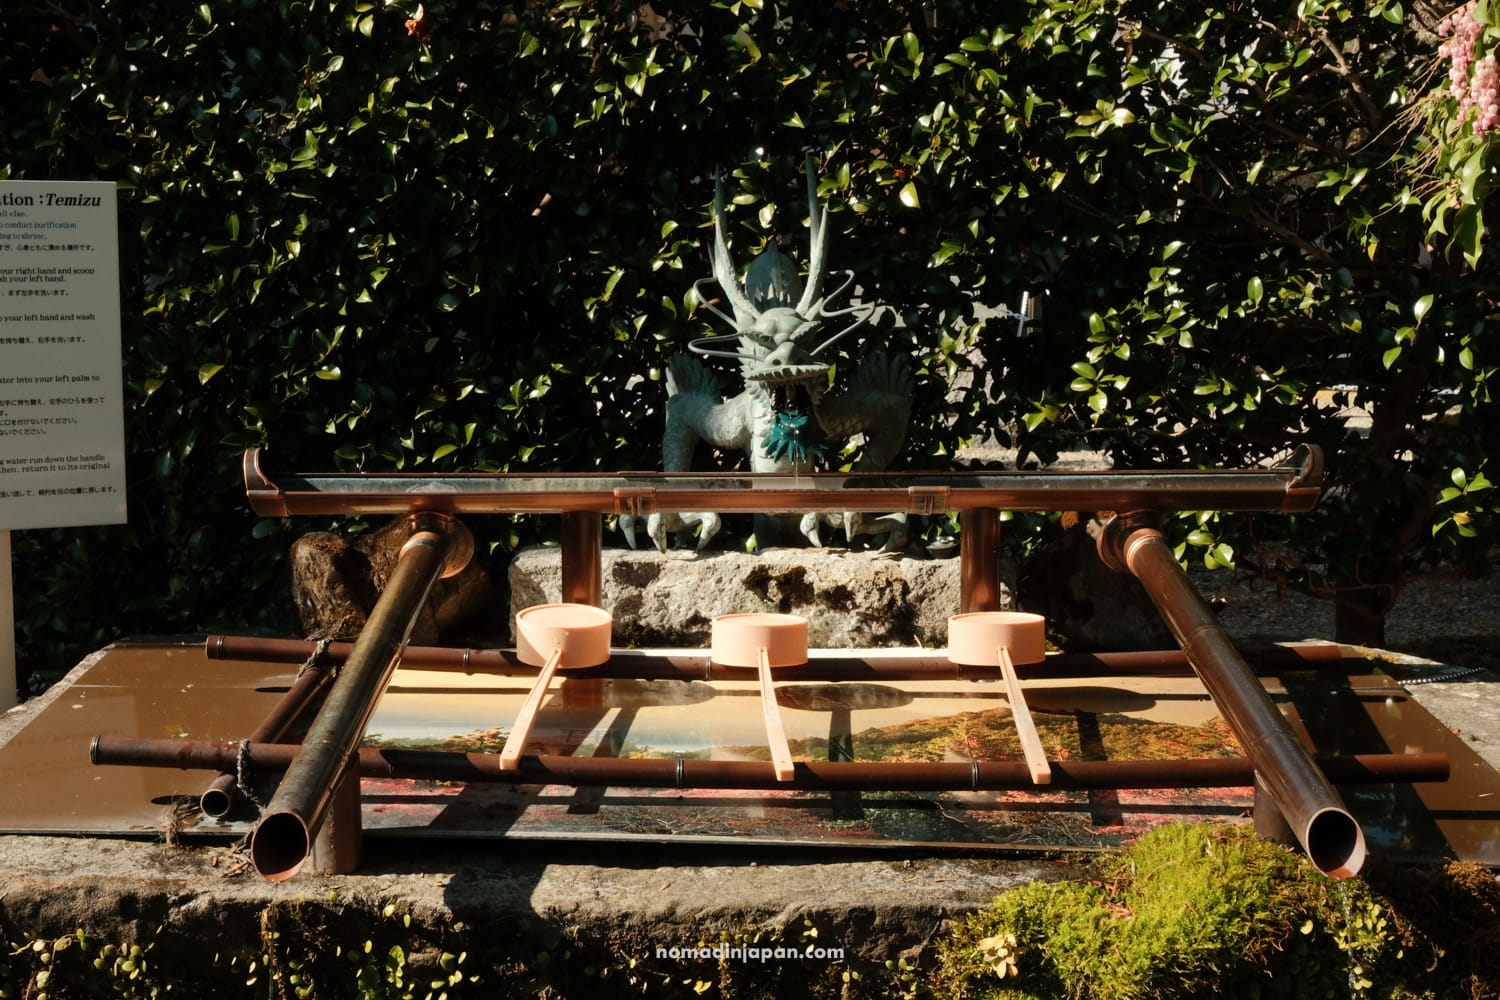
- Purify/cleanse hands and mouth at the wash basin (Temizu)
- When praying, ring the rope bell, offer coins, bow twice, clap twice, pray mindfully, bow once more before leaving
Also, many ryokans and villages along the Kumano will have onsen hot spring baths.
General onsen etiquette, if it’s your first time, is as follows:
- Remove all clothes in the changing room
- Fully wash your body before soaking
- Tie your hair up so it’s not in the hot springs
- Keep the onsen towel on your head or on the side, don’t place it in the bath
- Dry off before re-entering the changing room
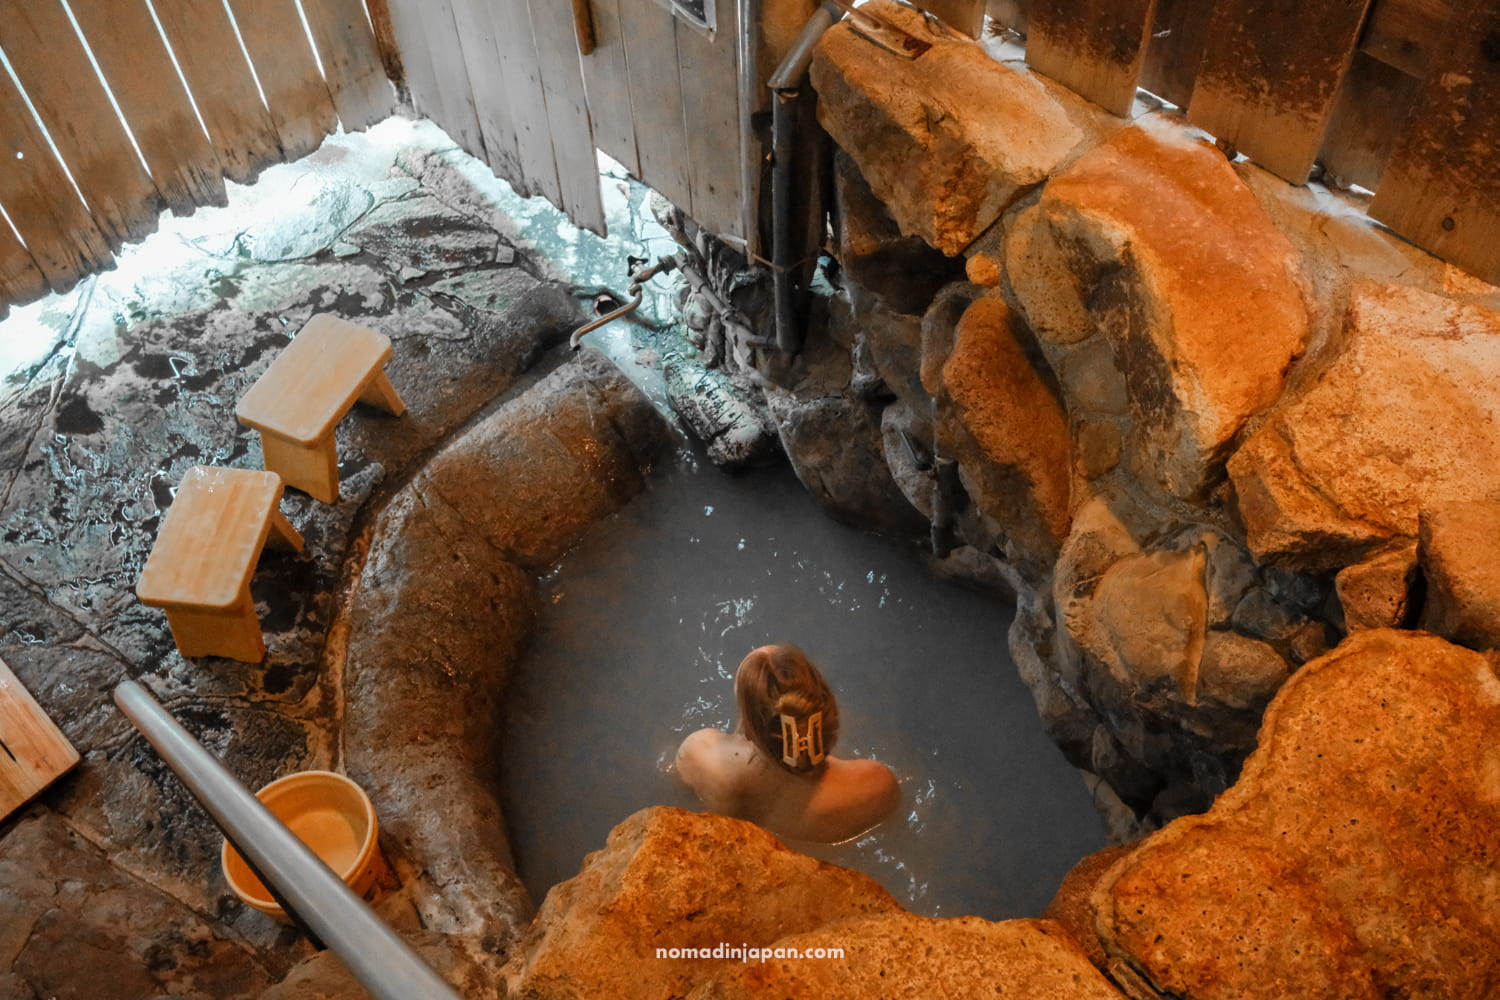
The Yunomine Onsen village, which features the World Heritage Tsuboyu onsen bath, was one of the highlights of the onsen experiences to have along the Kumano. It’s private, reservable for 30 minutes, and is tattoo-friendly.
In fact, all the onsens and accommodations we stayed in were tattoo-friendly, except for the last hotel we stayed at in Nachi-Katsuura post-hike, Hotel Urashima, which is a big shame because the cave onsens are really cool (per my tattooless partner).
Is the Kumano Kodo Worth Adding to Your Itinerary?

The Kumano Kodo isn’t meant to be a dip-in, dip-out, 1-day bucket list affair. I think you need to set aside ample time for it. However, you can shorten the section and decide which to hike and which to take the bus for.
The three Grand Shrines (the Kumano Sanzan) are all accessible by car/bus, so it’s really up to you how much of the pilgrimage route you want to trek on foot.
Personally, the most rewarding was completing the full Nakahechi, but if you are on a tight budget, you can consider shortening it to see the highlights or walk the easier sections between Takijiri-oji and Hongu Taisha.
Collecting the stamps, taking it slow, and traversing the mountain passes on foot, like the pilgrims of old, is what made it worth it for me. I don’t think I’d get the same satisfaction from it if I could just drive up!
There’s no “one way” to do it!
FAQs About the Kumano Kodo
🗺️ Do you need a guide?
You don’t need a guide (you can hike self-guided; the trail is well-marked), but you can hire one if you’d like more details, guidance, and historical context. You can do it solo!
🥾 Is it difficult? Do you need hiking experience?
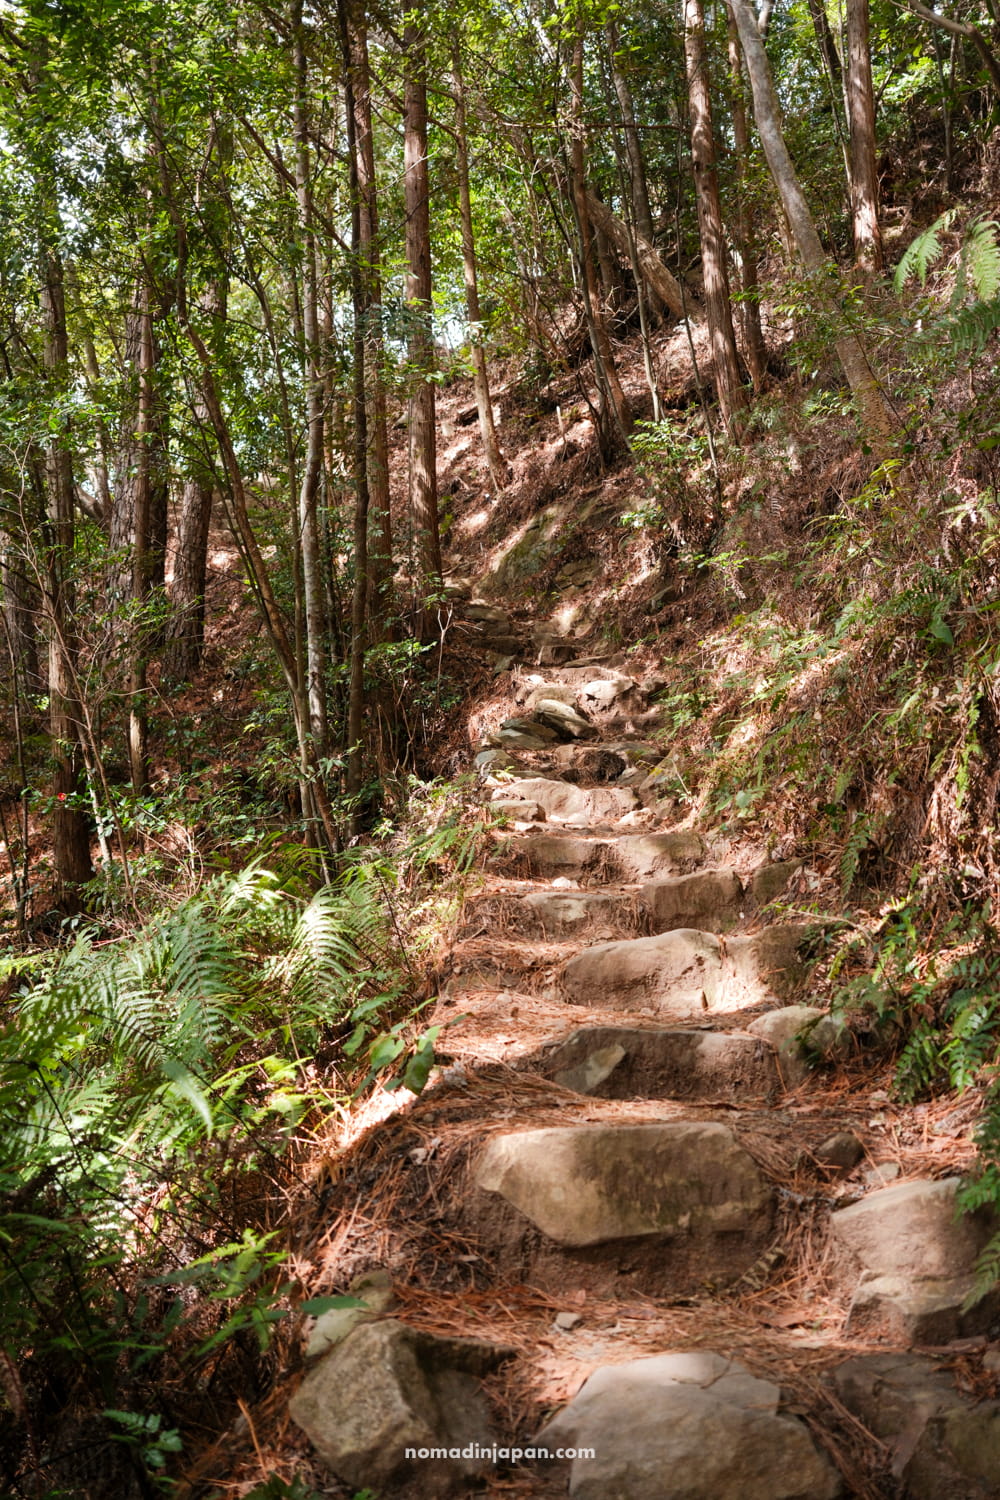
Yes, I’d say it’s moderately difficult. The terrain is rocky, slippery, and uneven. Some days, you’ll gain up to 4,000 ft in elevation. There are intense switch-backs, climbs, and descents. Plan to start early, as some days require 7–9 hours of trekking.
🐻 Is it safe? Are there bears?
The Kumano Kodo is safe! The risk of bear encounters is possible, but low (Asiatic black bears). There are centipedes and some snakes to be wary of, but overall, the Nakahechi is well-trekked and safe. I wore a bear bell, plus long sleeves, and pants to prevent insect bites. Most incidents and injuries are caused by falls, if anything. So watch your step!
Final Takeaways
I hope this overview of the Kumano Kodo pilgrimage helps you begin planning your trip!
With a bit of advance planning and securing accommodation early, you will see that the Kumano Kodo hike kinda takes care of itself. It’s a well-maintained route, with plenty of resources to help you plan a safe, self-guided itinerary.
Please don’t hesitate to contact me in the comments box below if you have additional questions. Happy trekking! ❤️